Description
This guide explains how to install custom fonts in Content Creation (Beta).
Requirements
- Access to the new Content Creation
- User rights to add fonts
- TEOS Manage version 3.3.0 or later
How to install custom fonts
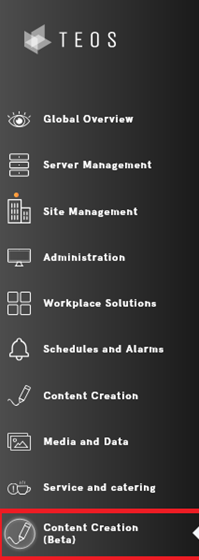
- Navigate to “Content Creation (Beta)”.
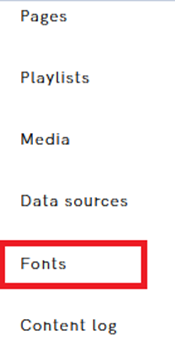
- Select the option “Fonts”.
- On the right side, select the “Upload” option.

- A File Explorer window will open where you can select a “.ttf” file. Download and select the desired font.

- Select “Open” to install the font in TEOS Manage.
- The font will now be displayed in TEOS Manage with a preview of how it will look.

- On the right side, you will have the option to adjust the font style to “Regular”, “Bold”, or “Italic”.
- When you go back, you will see the newly installed font added to the page.

You have now successfully installed a font.