Description
This guide explains how to move your upload folder to a different location than your TEOS installation folder.
Requirements
- Access to the TEOS Manage server
How to move the upload folder
- Log in to the TEOS Manage server and navigate in Windows Explorer to:
C:\Program Files\TEOS Manage
(or the alternative path if TEOS is installed in a different location). - Copy the Upload folder and paste it onto a different drive (preferably keeping the same structure, e.g. %drive%\Program Files\TEOS Manage).
- Open Internet Information Services (IIS) Manager and navigate to the site Backbone.
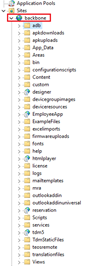
- Open the designer entry.

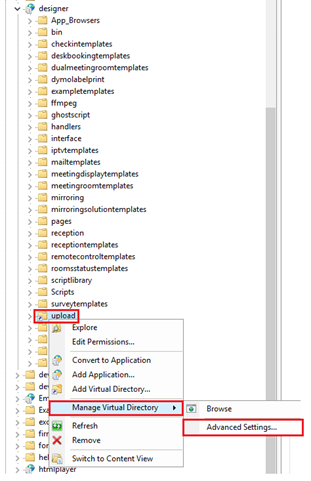
- Right-click the Upload entry and select: Manage Application > Advanced Settings…
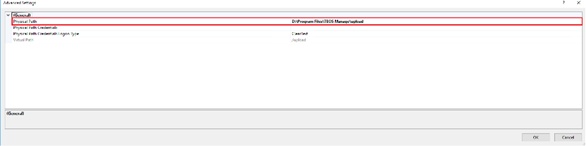
- Change the value of Physical Path to the new location of the upload folder.
- Next, create or edit the virtual path under: services > fileprocessor.
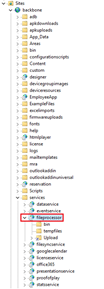
If the path already exists, right-click the entry and select: Manage Virtual Directory > Advanced Settings…
Here, edit the Physical Path to the new location.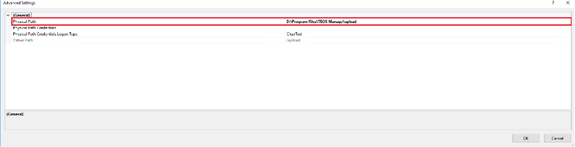
If the path does not exist, right-click fileprocessor and select Add Virtual Directory…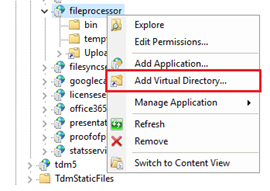
Fill in the alias as Upload and select the new folder path for the upload folder. Press OK when finished.
- Navigate to the following folder:
C:\Program Files\TEOS Manage\www\FileSyncWebService - Open the web.config file in Notepad.

- On the fifth line, you will find the old upload directory path:
Update this line with the new drive and save the file. - Finally, remove the old upload folder from its previous location.