Description
This guide explains how to update your client secret for Office 365 within your TEOS installation.
Requirements
- Admin access to the Azure platform
- Administrator access to your TEOS web interface
Creating a new Client Secret in Azure
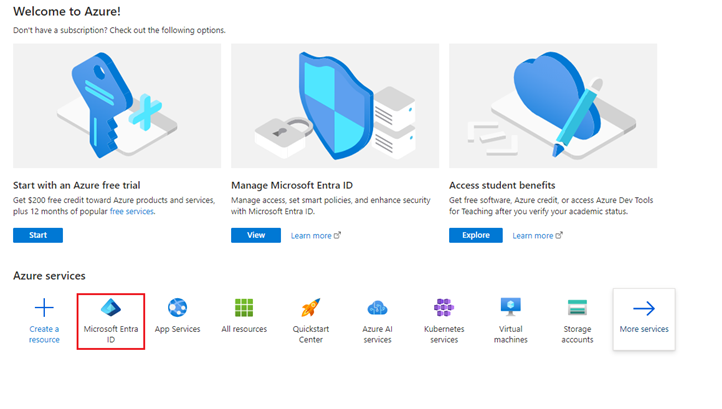
- Sign in to portal.azure.com with your account.

- Select Microsoft Entra ID.
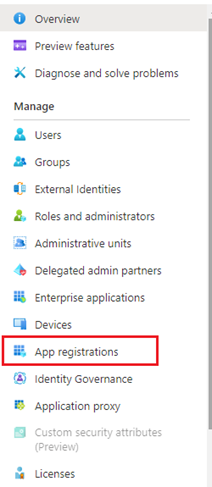
- Select “App registrations”.
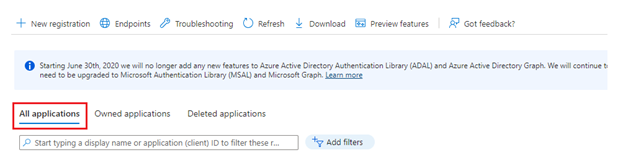
- Select “All applications”.
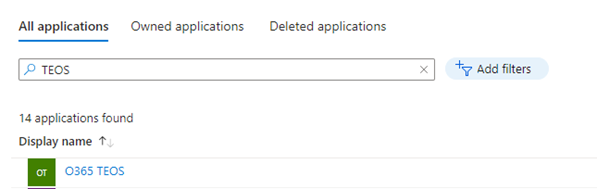
- In the search bar, search for the application created for TEOS usage. Open the application by left-clicking the name.
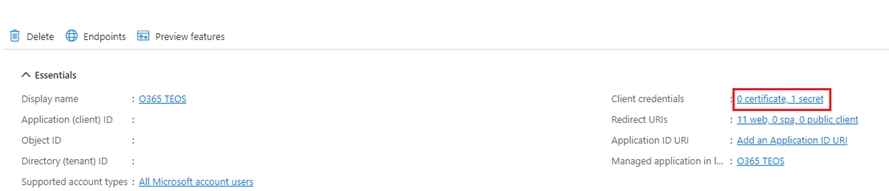
- In the overview, select the blue text next to ‘Client credentials’, which shows ‘x certificate, x secret’.
- Select the option ‘New client secret’.
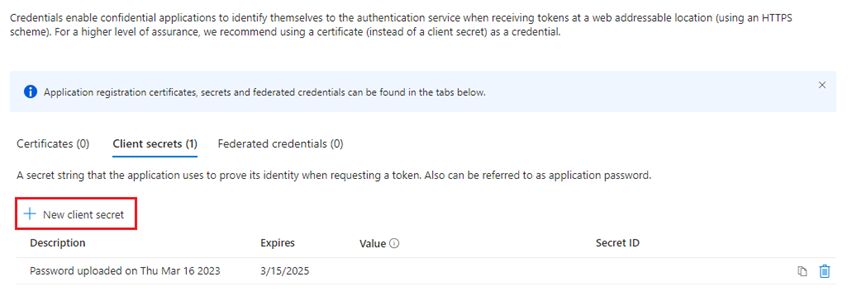
- In the tab on the right-hand side, fill in a description and an expiration date for the secret. Once this has been done, select ‘Add’.

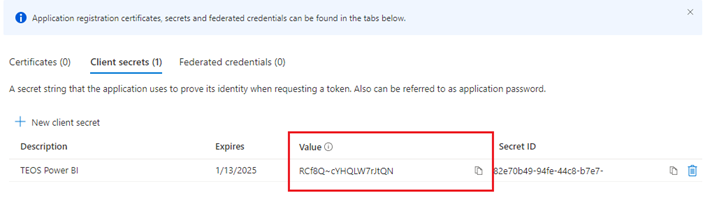
- Once the secret has been added, copy the ‘Value’, as this will only be shown once after creating the secret (the ‘Value’ will be the credential used in TEOS).
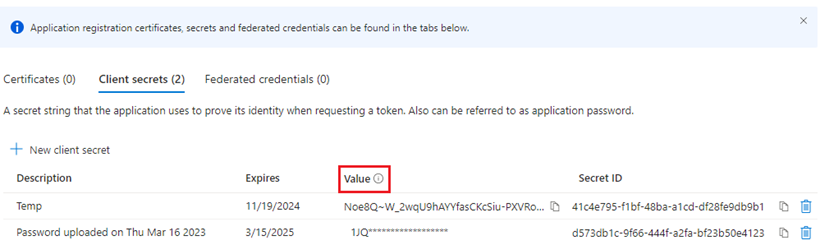
- When the secret is created, you will see the following: Name, Expiration date, Secret ID, and Value. Please copy and store the Value securely, as it will only be visible once.
You have completed the steps for creating a new client secret. The secret ‘Value’ you created now needs to be configured in TEOS Manage.
Update your Client Secret in TEOS
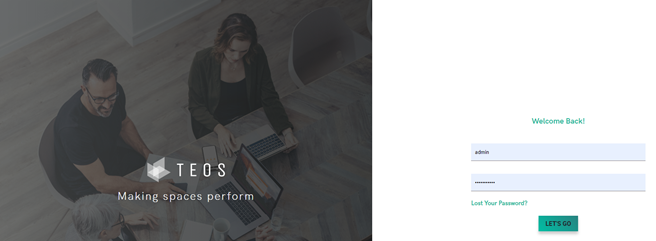
- Log in to your TEOS web interface with an administrator account.
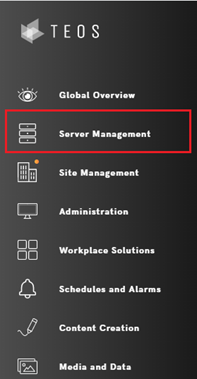
- Navigate to ‘Server Management’.
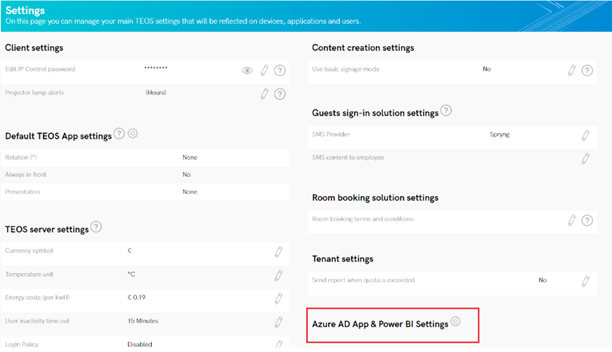
- Select the tab ‘Settings’.

- Select the option ‘Azure AD App & Power BI Settings’.
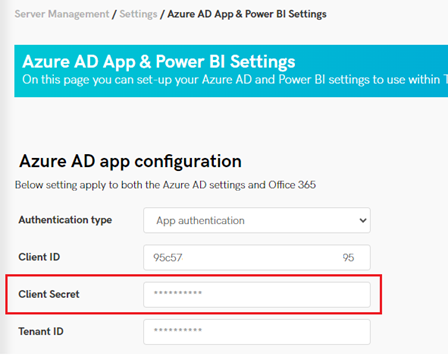
- Enter the secret ‘Value’ you created under ‘Client Secret’ and click ‘Save’.
You have now updated your Client Secret for Office 365.