Description
This guide explains how to use the table element.
Requirements
- Access to Templates in the designer.
How to use the table element
- Open “Content Creation” from the menu on the left side and select “Templates”.

- Create or edit a template. This will bring you into the template editor.
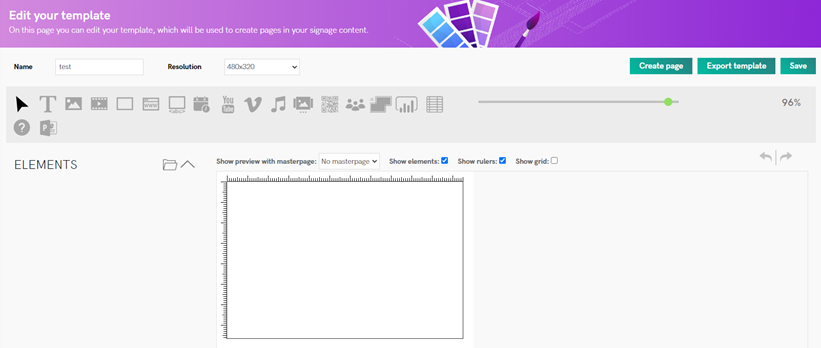
- Select the “Table” element. This is the element with the following icon:

- Once the element is selected, you can create a frame within your template design by clicking and holding the left mouse button. Draw a frame within the template, which will be used for the table element.
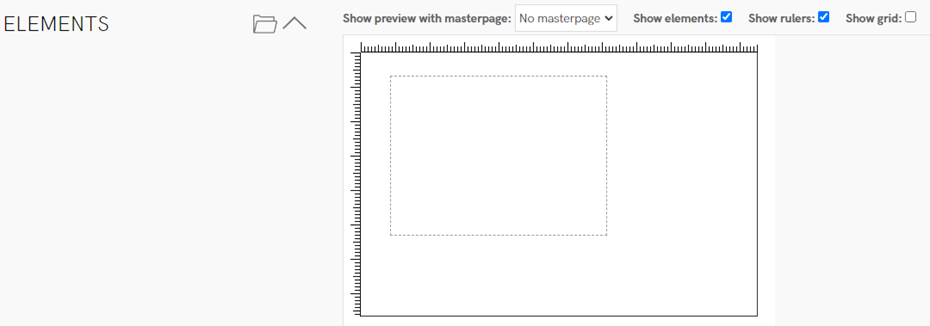
- After releasing the left mouse button, a pop-up will open. This is where you can configure the table element. In this example, we will create a table that loads information from an external data feed. If you prefer to manually enter text, skip the settings in the tab called “Data”.
Please fill in the following fields:
Tab: General
Name: Fill in the name of the element, for example, “Weather Information”.
Tab: Layout
Transparency: Configure the transparency of the table element.
Columns: Configure the number of columns the table should have. In this example, we use four columns.
Rows: Configure the number of rows the table should have. In this example, we use five rows.
Border: Choose whether the table should have a border around the element.
Font Family: Select the font you want to use.
Font Size: Define the size of the text.
Font Weight: Choose whether you want the text to appear bold or regular.
Text Colour: Select the colour of the text.
Background Colour: Choose whether to apply a background colour to your table.
Text Alignment: Decide whether to align your text to the left, centre, or right side of the table.
Good to know: You can change the size of the element by pressing “Show positions”. Here, you can adjust the size in pixels. For example, if you are using Full HD and want the counter to fill the full screen, fill in the following positions: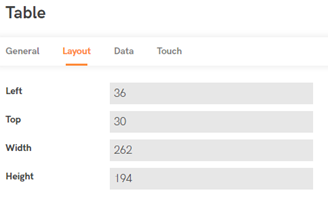
Tab: Data
Datasource: Select which data source you want to use for your table. In this example, we use “Weather”.
Table: Select the table of the XML you want to use — normally this is the top level of the XML. In this example, we use “/weather”.
Row: Select the row of the XML you want to use — normally this is the second level of the XML. In this example, we use “/weatheritem”.
Columns: Select the values you want to display in the table element.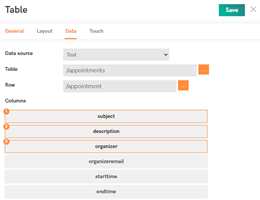
- Once you have finished configuring all the fields, press “Save”. The pop-up will close, and the element will become visible in the template editor.
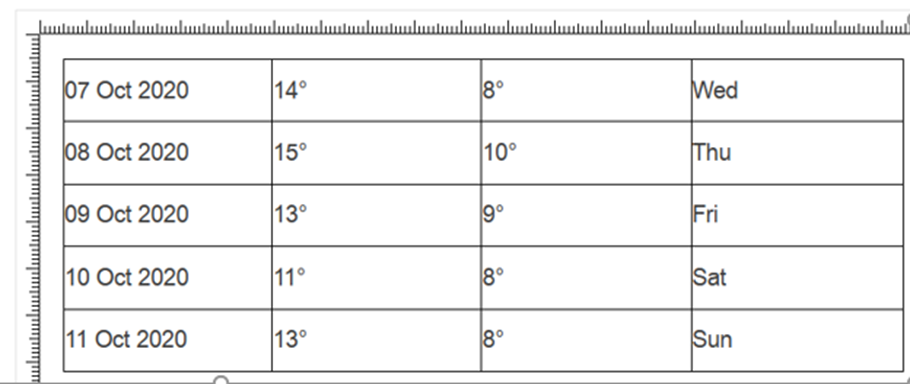
Once you reach this step, you have successfully set up the table element. You can now add additional elements if needed. Once your template is complete, you can create a page based on the template and add it to your playlist.