Description
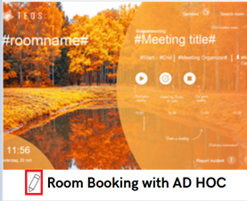
This guide explains how to create an AD HOC meeting button.
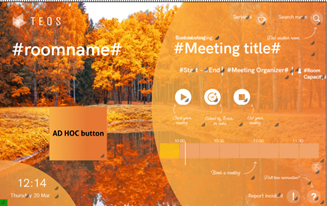
This allows you to create a button on a Room Booking solution that instantly books a room.
Requirements
- Access to TEOS Manage
- User rights for Room Booking
How to create an AD HOC meeting button
- Log in to TEOS.
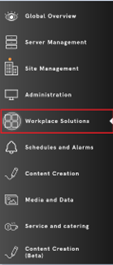
- Navigate to Workplace Solutions and then Room Booking.
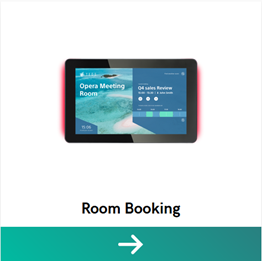
- Select the room booking solution that requires an AD HOC button.
- Under “Pages”, select the page and click the edit icon.
- Select the “Meeting Room” element and draw it on the canvas.

- Give the newly created element a name and go to “Behaviour”.
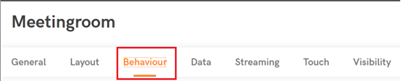
- Under “Behaviour”, there are a few settings that need to be configured:
- Type: Set to “Create ad hoc” to enable AD HOC functionality.
- Button Text: The text displayed on the button.
- Default meeting duration: The time in minutes for how long the AD HOC meeting should last.
- Calendar: Leave this empty so it uses the linked calendar from Site Management (change this if you wish to use a different schedule). - A button image needs to be added to make the button visible. If no image is added, the button will remain invisible.
- Select “Save”, and your button should now appear on the room booking page.
- When this is deployed to a room booking device, clicking the button will start a 30-minute meeting.
If there are any questions, feel free to contact TEOS support: support@teos.support