Description
This guide explains how to configure the LED on tablets.
For this guide, a tablet (ProDVX or Qbic) is required with LED functionality. The firmware of the device needs to be updated to the latest version. For guides on how to update firmware, please view How to update firmware for a ProDVX R23 model.
Also, make sure the settings on the device have been set up correctly. For this guide, a ProDVX 10XPLN will be used.
Requirements
- A tablet with LED
- Access to Workplace Solutions > Room Booking
How to configure LED on tablets
1. Log in to TEOS Manage.
2. Go to “Workplace Solutions”.
3. Select “Room Booking”.
4. Select “New Room Booking”, or if you already have a Room Booking solution, select it.

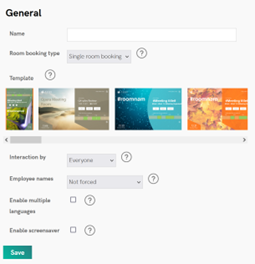
5. Select a name and template, then click “Save”.
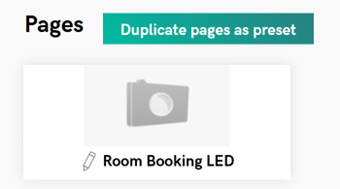
6. After selecting “Save”, the tab “Pages” will appear. Here, you can edit the page used for Room Booking. Select “Edit”.
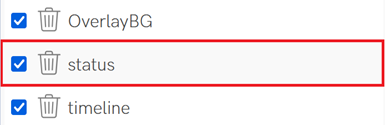
7. The page for the Room Booking will open. On the right-hand side, you will find all available elements. We need to configure the “Status” element.
8. Navigate to “Behaviour”.

9. Here you will find an overview of the actions that can be performed with the status of the Room Booking.
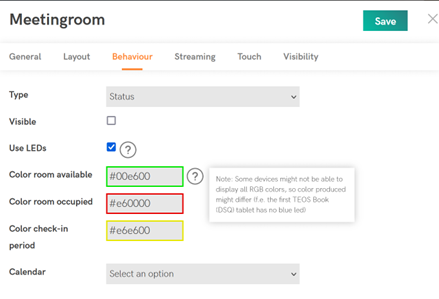
- Type
Here you can select the type of behaviour needed to change the LEDs. For this guide, keep this set to “Status”. - Visible
Determines whether the status is visible on the Room Booking page. - Use LEDs
Option to enable LEDs if supported on the connected device. Enable this. - Colour – Room available
The colour the LED should display when the room is free. - Colour – Room occupied
The colour the LED should display when the room is occupied. - Colour – Check-in period
The colour the LED should display when the room is in the check-in period. - Calendar
Select which external data source (Calendar) it should use. You can skip this, as the status is already obtained from the Room Booking.
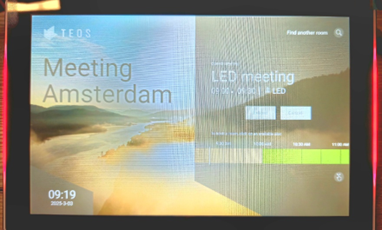
10. You will now see that the tablet displays a red LED when the room is booked in a linked calendar with Room Booking.
11. To set up Room Booking, please view TEOS Room Booking – Installation & User Manual.